Hackmanite tower/ obelisk with Diopside and Garnet inclusions.
A stunning high quality Hackmanite tower/ obelisk with Diopside and garnet inclusions. The Hackmanite is UV reactive and glows under UV light.
The tower measures 85mm X 33mm X 33mm and weighs 174 grams.
Hackmanite is a high vibration crystal which aids with problem solving. Hackmanite is said to assist in letting go of fear, so you can move forward. The energy of Hackmanite is said to stimulates peace and harmony. Hackmanite helps grant access to the crown chakra and enhances mental capabilities.
Stone: Hackmanite with Diopside and Garnet inclusions.


 Image 1 of 26
 Image 2 of 26
 Image 3 of 26
 Image 4 of 26
 Image 5 of 26
 Image 6 of 26
 Image 7 of 26
 Image 8 of 26
 Image 9 of 26
 Image 10 of 26
 Image 11 of 26
 Image 12 of 26
 Image 13 of 26
 Image 14 of 26
 Image 15 of 26
 Image 16 of 26
 Image 17 of 26
 Image 18 of 26
 Image 19 of 26
 Image 20 of 26
 Image 21 of 26
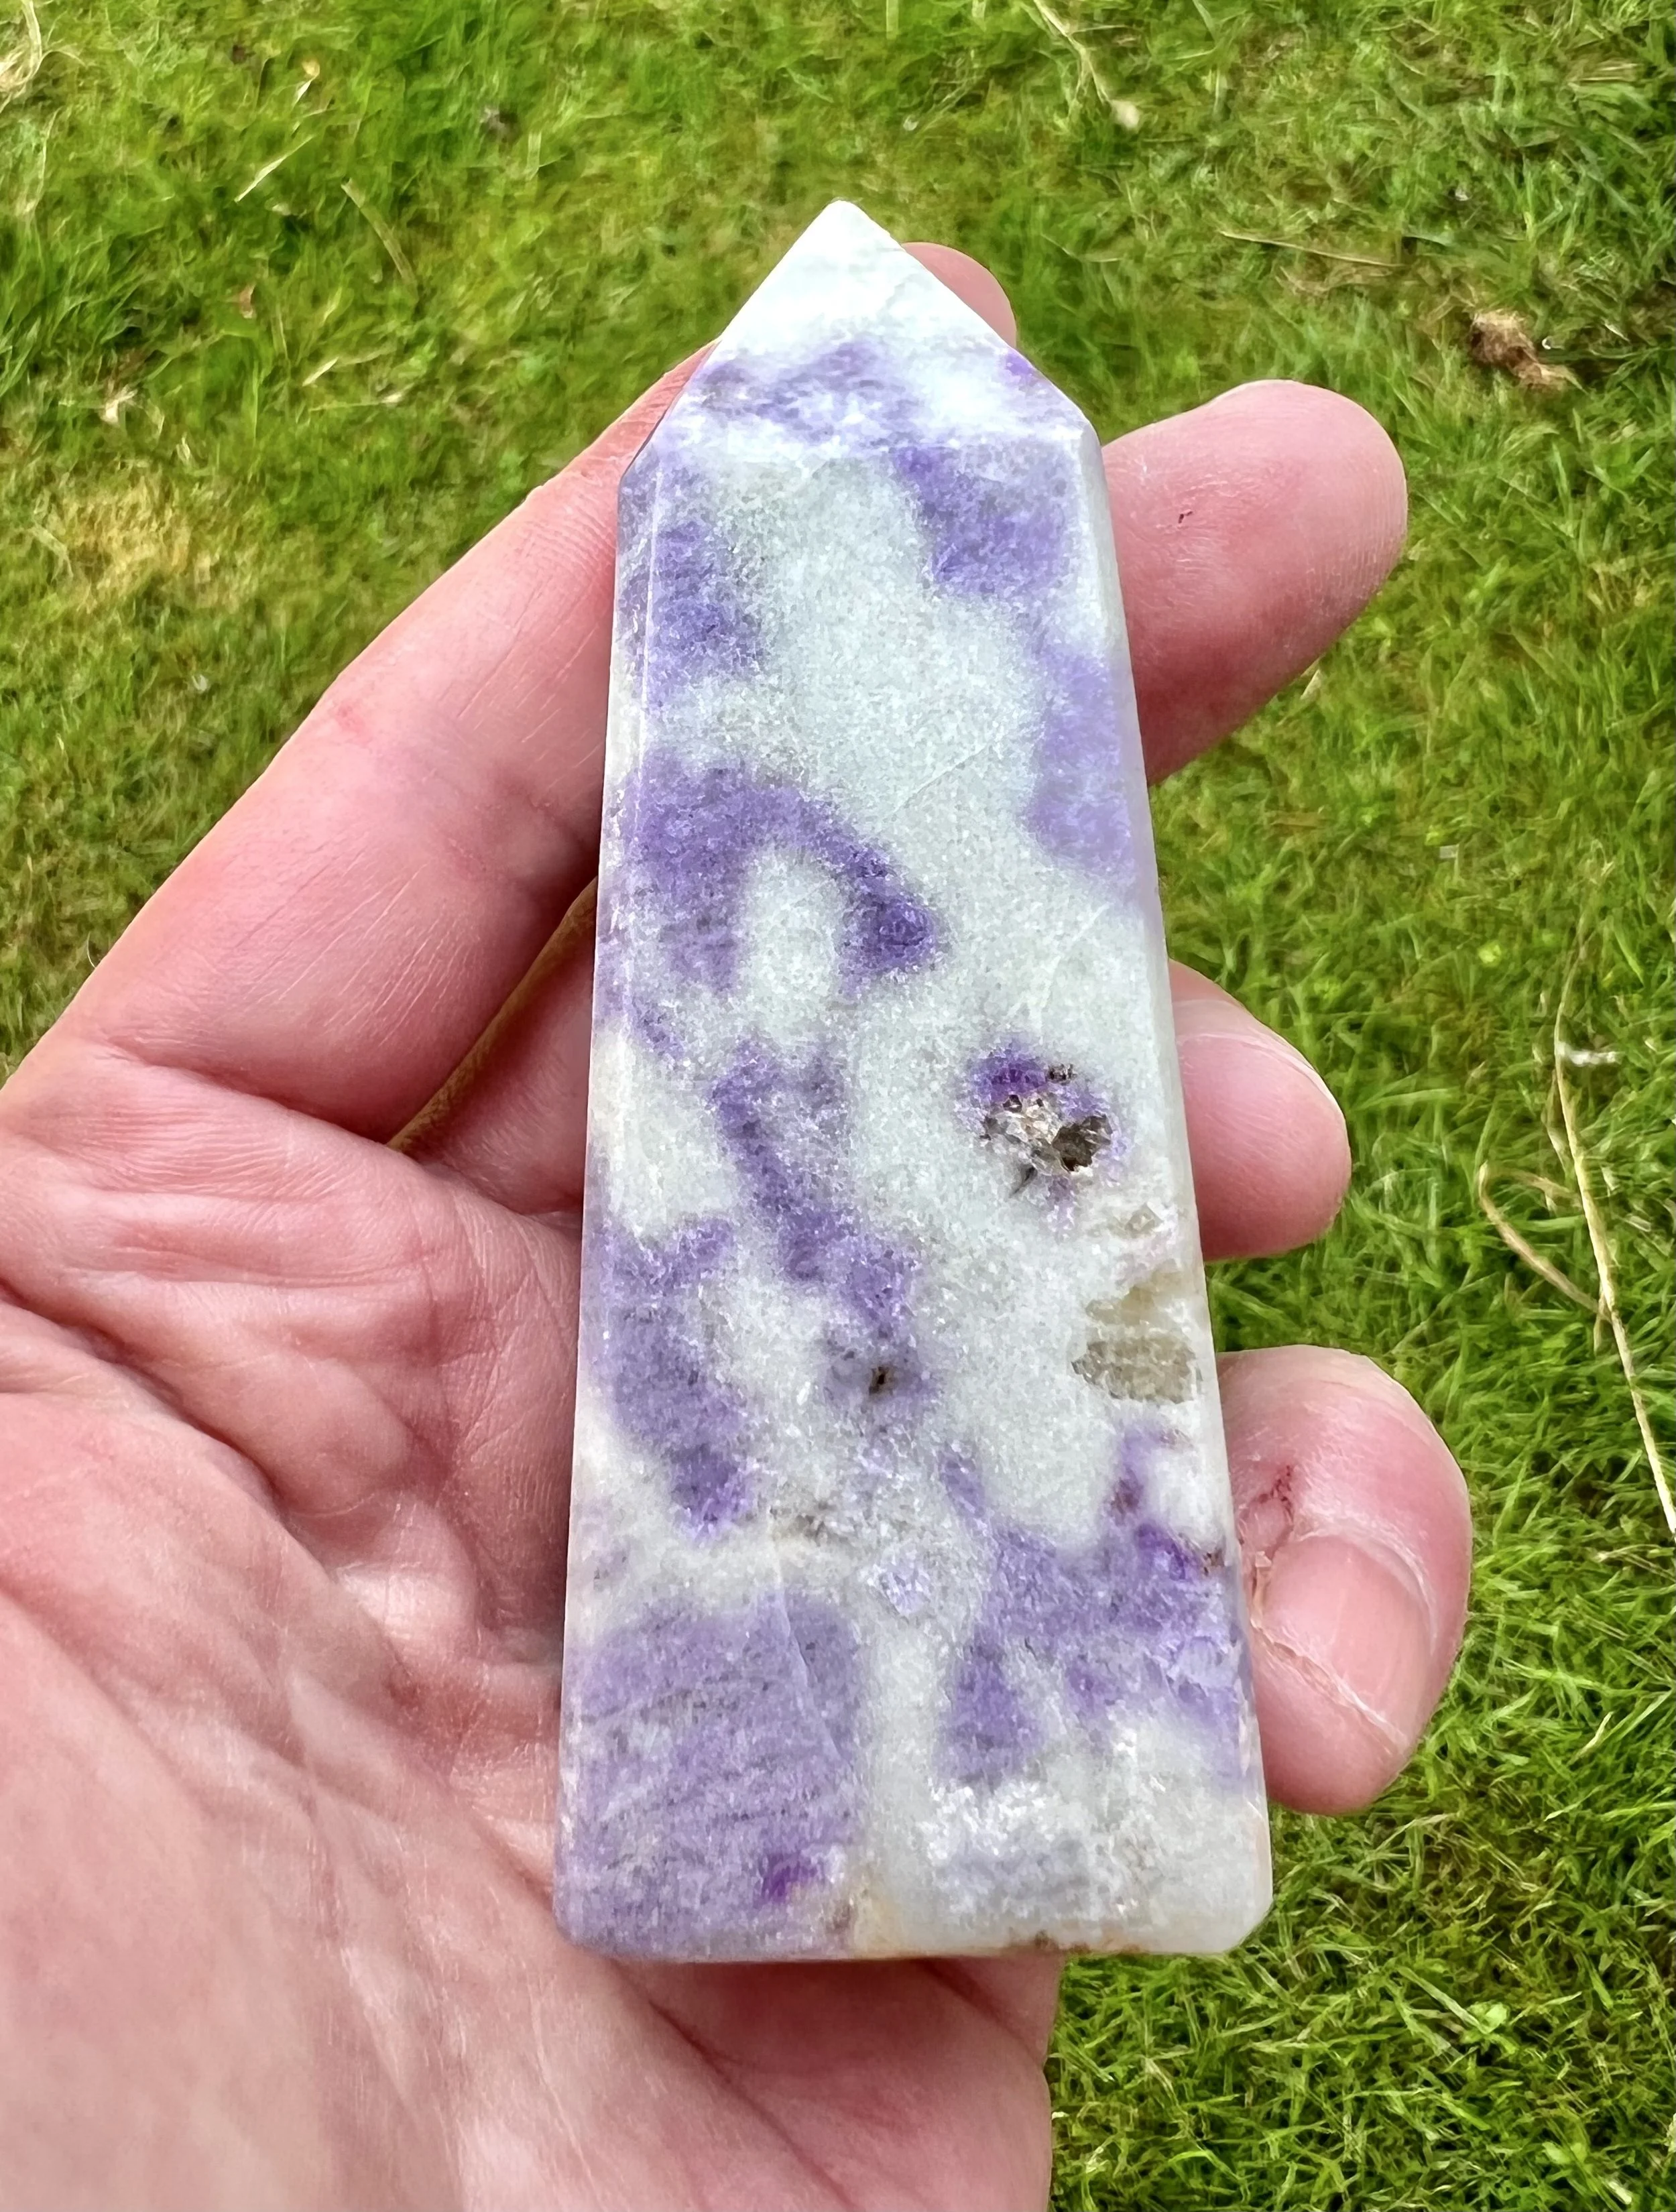 Image 22 of 26
 Image 23 of 26
 Image 24 of 26
 Image 25 of 26
 Image 26 of 26